Ensuring code quality when your software team is growing rapidly is a huge challenge. But even with a constant number of software developers, maintaining code quality can cause headaches.
Without tools and a consistent system, the whole project can accumulate a huge technical debt, causing more problems in the long-term than it solves in the short-term.
The best thing is that you don’t have to be a rocket scientist to avoid this (sure, it’s not a problem if you are one).
We put together a heavy guide that helps you improve software quality through quality code, no matter if you work with an in-house team or a software outsourcing company.
Some parts of this post might seem obvious, but the value lies in how the parts connect and build up a working code quality assurance system.
WHAT IS CODE QUALITY EXACTLY?
Code quality is a group of different attributes and requirements, determined and prioritized by your business. Here are the main attributes that can be used to determine it:
- Clarity: Easy to read and oversee for anyone who isn’t the creator of the code. If it’s easy to understand, it’s much easier to maintain and extend the code. Not just computers, but also humans need to understand it.
- Maintainable: A high-quality code isn’t overly complicated. Anyone working with the code has to understand the whole context of the code if they want to make any changes.
- Documented: The best thing is when the code is self-explaining, but it’s always recommended to add comments to the code to explain its role and functions. It makes it much easier for anyone who didn’t take part in writing the code to understand and maintain it.
- Refactored: Code formatting needs to be consistent and follow the language’s coding conventions. Some code refactoring tips here.
- Well-tested: The less bugs the code has the higher its quality. Thorough testing filters out critical bugs ensuring that the software works the way it’s intended.
- Extendible: The code you receive has to be extendible. It’s not really great when you have to throw it away after a few weeks.
- Efficiency: High-quality code doesn’t use unnecessary resources to perform a desired action.
A quality code does not necessarily meet all of the above-mentioned attributes, but the more it meets, the higher the software quality. These requirements are more like a priority list that depends on the characteristics of your project.
👉 Read this: How to Easily Set-up Node Config Following These Best Practices📗📘📙
WHY SHOULD YOU CARE ABOUT CODE QUALITY?
Great authors write books with compelling stories that are easy to read and understand. From some aspects, the job of an author is similar to that of a developer. The main difference is that developers use different jargon.
As the author’s writing has to be easy to read and comprehensive, so should a software developer’s code.
I know it’s pretty hard to a coding standard when you’re under pressure to meet your next deadline, but if you’re thinking long term, you definitely need to produce code that’s readable and maintainable. Here are three main reasons why code quality is important:
- Readability: Make the code more readable and easier to comprehend for everyone working on the project. It’s much harder to read and understand a bad quality code than to write it.
- Maintainability: It’s easier, safer and less time consuming to maintain and test quality software built with quality code.
- Lower technical debt: Good quality code can speed up long-term software development and simplify maintainability since it can be reused and developers don’t have to spend much time fixing old bugs and refactoring. It also makes it easier for new project members to join the project. On the other hand poor code quality slows down the development process, and makes it more expensive.
Quality code is the cornerstone of software quality, and whatever business you're in, quality software makes your life easier.
THE DEFINITION OF CLEAN CODE BY ROBERT C. MARTIN "UNCLE BOB"
CLEAN CODE MAKES YOU WORK FAST
The underlying theme is that if you want to go fast, meet schedules, and keep your customers and your managers happy, keep your code as clean as possible. Nothing will make you build software faster than keeping your workspace clean and sticking to high coding standards.
MEASURE THE SIZE OF FUNCTIONS
You can measure the size of methods or functions. A large part of the Clean Code book is focused around this idea. It’s simple: take your functions and make them as small as possible.
Once you go above five or six lines of code, they start to get too large. Many programmers find the idea of tiny functions disturbing. It’s new to them, and they worry that it will overwhelm them.
NAME YOUR FUNCTIONS WELL
But it won’t overwhelm you, because you need to name them, and it’s an eye-opening experience. You have to come up with names for tiny concepts. They tend to get long names, because the concepts are so precise, so they require several words to describe.
So the functions take on names that are almost sentences. When you mix them with “if” statements and “while” statements, you start to form full sentences. Then your code starts to read almost like a natural language.
Keeping functions as small as possible, and naming them well equals good code and guarantees high structural quality.
Click here to read the full interview with Uncle Bob Martin!
BUILD A CODE QUALITY ASSURANCE SYSTEM FOR YOUR TEAM
In this part, I will show you how we use version control, style guides and automated testing to make sure our code meets our predefined quality standards.
By following these methods, you can easily replicate our system and radically improve the code quality your team produces. You just need to go through the following steps:
- Setup version control
- Determine conventions
- Run functional quality tests
1. VERSION CONTROL TOOL TO ENSURE CODE QUALITY AND TRANSPARENCY
Version control tool is the foundation of our system.
The most popular tool for version control is Git. It also offers a branching style guide called GitFlow that enables seamless collaboration between team members and makes it easy to scale up the development team.
It provides an easy-to-track system that separates live product from the less stable developer branch with unpublished features.
When a developer from our team finishes a feature, he/she sends a pull request on GitHub. This describes the content and the details of the request.
This system makes sure that no unreviewed code will be merged with the master branch. Code review is important, and you need the right tools for it.
Here is how our process looks:
- One team member sends a pull request to the development branch.
- This will appear in a ready-to-review section waiting for a project member to review (peer review).
- A team member reviews the request, and if it meets the requirements, it will be merged to the development branch.
This a great system for controlling versions and making everyone’s work fully transparent. There are lots of GUI extensions for Git, such as GitKraken, which supports Gitflow. Here you can see how easily can enable it.
But how do you decide if the code is good enough?
In the next part, I show you tools to track code quality and metrics that can be used to measure code quality.
2. STYLE GUIDE FOR READABLE AND COMPREHENSIBLE CODE
A style guide is a collection of best practices and conventions. Using a style guide ensures that every developer's code looks exactly the same, making the code easier to review and work with.
Fortunately, you don’t have to create your own style guide. There are many style guides available for free, focusing on different programming languages and scopes:
- Company: Cool companies like Airbnb and Google have already created and published their own style guides. Here is Airbnb’s JavaScript style guide.
- Project: There could be varying conventions across different projects or products within a company. We don’t really recommend project-based style guides since it makes it much harder for people switching between projects.
Use linters to automatically test code style
A linter is part of the style guide. It’s a small piece of software that automatically checks if your code meets the predefined code convention rules. You don’t have to manually go through the code base to check style.
There are linters available for almost every programming language, just to mention a few:
- JavaScript ESLint
- TypeScript TSlint
- Python pylint /flake8
- Sass/SCSS sass-lint
- Go golang lint
- Bash ShellCheck
You can also check out our own JavaScript style guide here (it needs to be updated though).
Many code editors have support for configurable linting, such as VSCode. Here is a guide how to set your own linter up.
EditorConfig helps developers define and maintain consistent coding styles between different editors and IDEs. The EditorConfig project consists of a file format for defining coding styles and a collection of text editor plugins that enable editors to read the file format and adhere to defined styles.
3. IMPROVE CODE QUALITY WITH FUNCTIONAL TESTS
While style guides with linters test how your code looks, functional quality tests show if your code actually works or not.
This simple pyramid shows how a test process should be structured and your efforts directed.
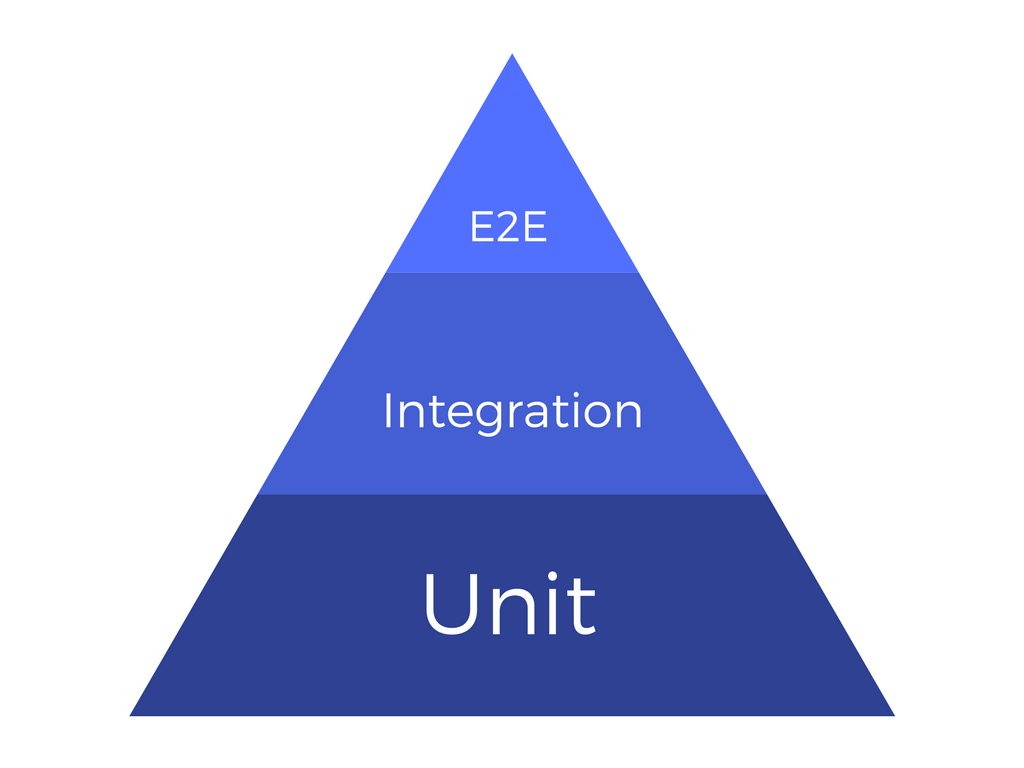
Generally, we can say that you have to run lots of unit tests, fewer integration tests and even fewer end-to-end tests.
With a unit test, you inspect one module of the software by mocking out dependencies. An integration test shows how different components work together while an end-to-end test checks the full client-server round.
For running unit and integration tests, here are some tools you can use:
For end-to-end tests, we recommend using:
Additional reading: Mobile Labs Inc put together a cool checklist to use before deploying any applications.
HOW TO MEASURE TESTS
The best way to measure test effectiveness is to track test coverage. It shows what portion (%) of the code is covered by the testing algorithm. To get a better understanding, it’s worth breaking down test coverage:
- Statement coverage (%): number of statements executed during a test divided by all statements
- Branch coverage (%): number of executed conditions divided by all conditions
- Function coverage (%): number of executed functions divided by all functions
- Lines coverage (%): number of lines ran during a test divided by all lines
Istanbul is a cool tool for measuring test coverage for JavaScript codebase.

USER INTERFACE TEST
UI test can be also automatized but it demands more resources, especially when the component is changing so the full test environment should be rewritten.
There are cool applications for automated user interface tests: Monkey test for Android UI stress tests, Saucelabs for cross-browser testing and Protractor for a more comprehensive end-to-end test (including user interface).
USE CONTINUOUS INTEGRATION TOOLS
Our philosophy is to always have feedback on the condition of the software we’re building. This is where continuous integration comes in the picture. One of our favorite bloggers, Martin Fowler, nailed the definition of continuous integration.
“Continuous integration is a software development practice where members of a team integrate their work frequently, usually each person integrates at least daily - leading to multiple integrations per day. Each integration is verified by an automated build (including test) to detect integration errors as quickly as possible.”Martin Fowler
Here is our process:
- Continuous integration platform will run the linters on the code. If it fails, the process will stop here and the developer have to fix the style-related issues.
- It will run the functional test and move to the next step if the code runs according to plan.
- Then it starts calculating test coverage. If it doesn’t meet the predefined threshold, it will fail.
- If the request is merging with the master branch, it should be deployed as well.
Recommended tools:
Guide: Here are 10 things you should consider while choosing a CI platform.
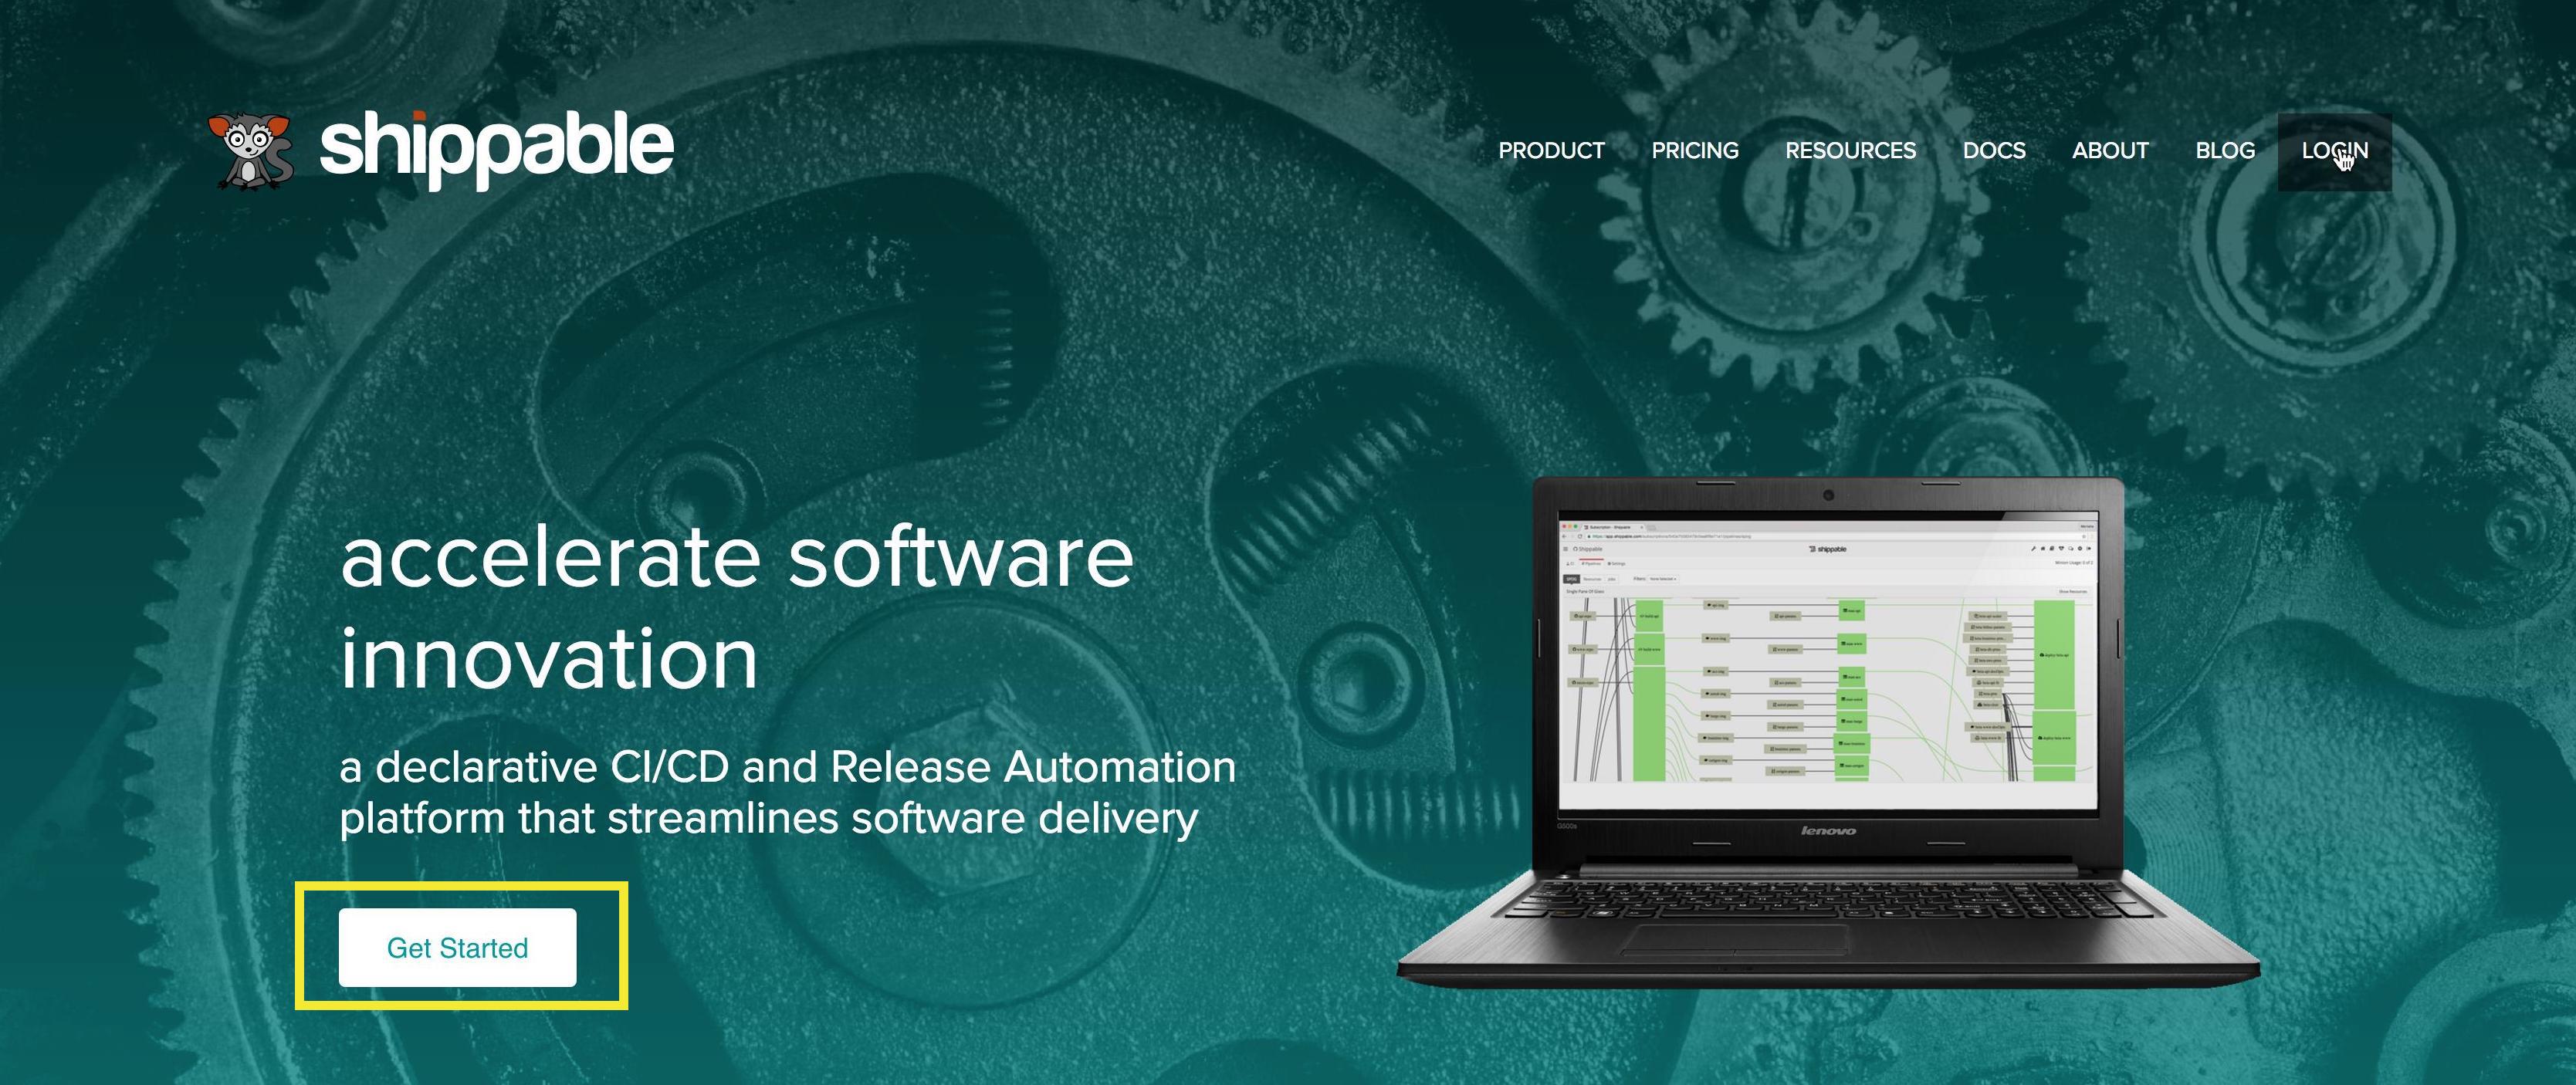
Here is how to integrate Shippable with Github:
1. Go to Shippable.com
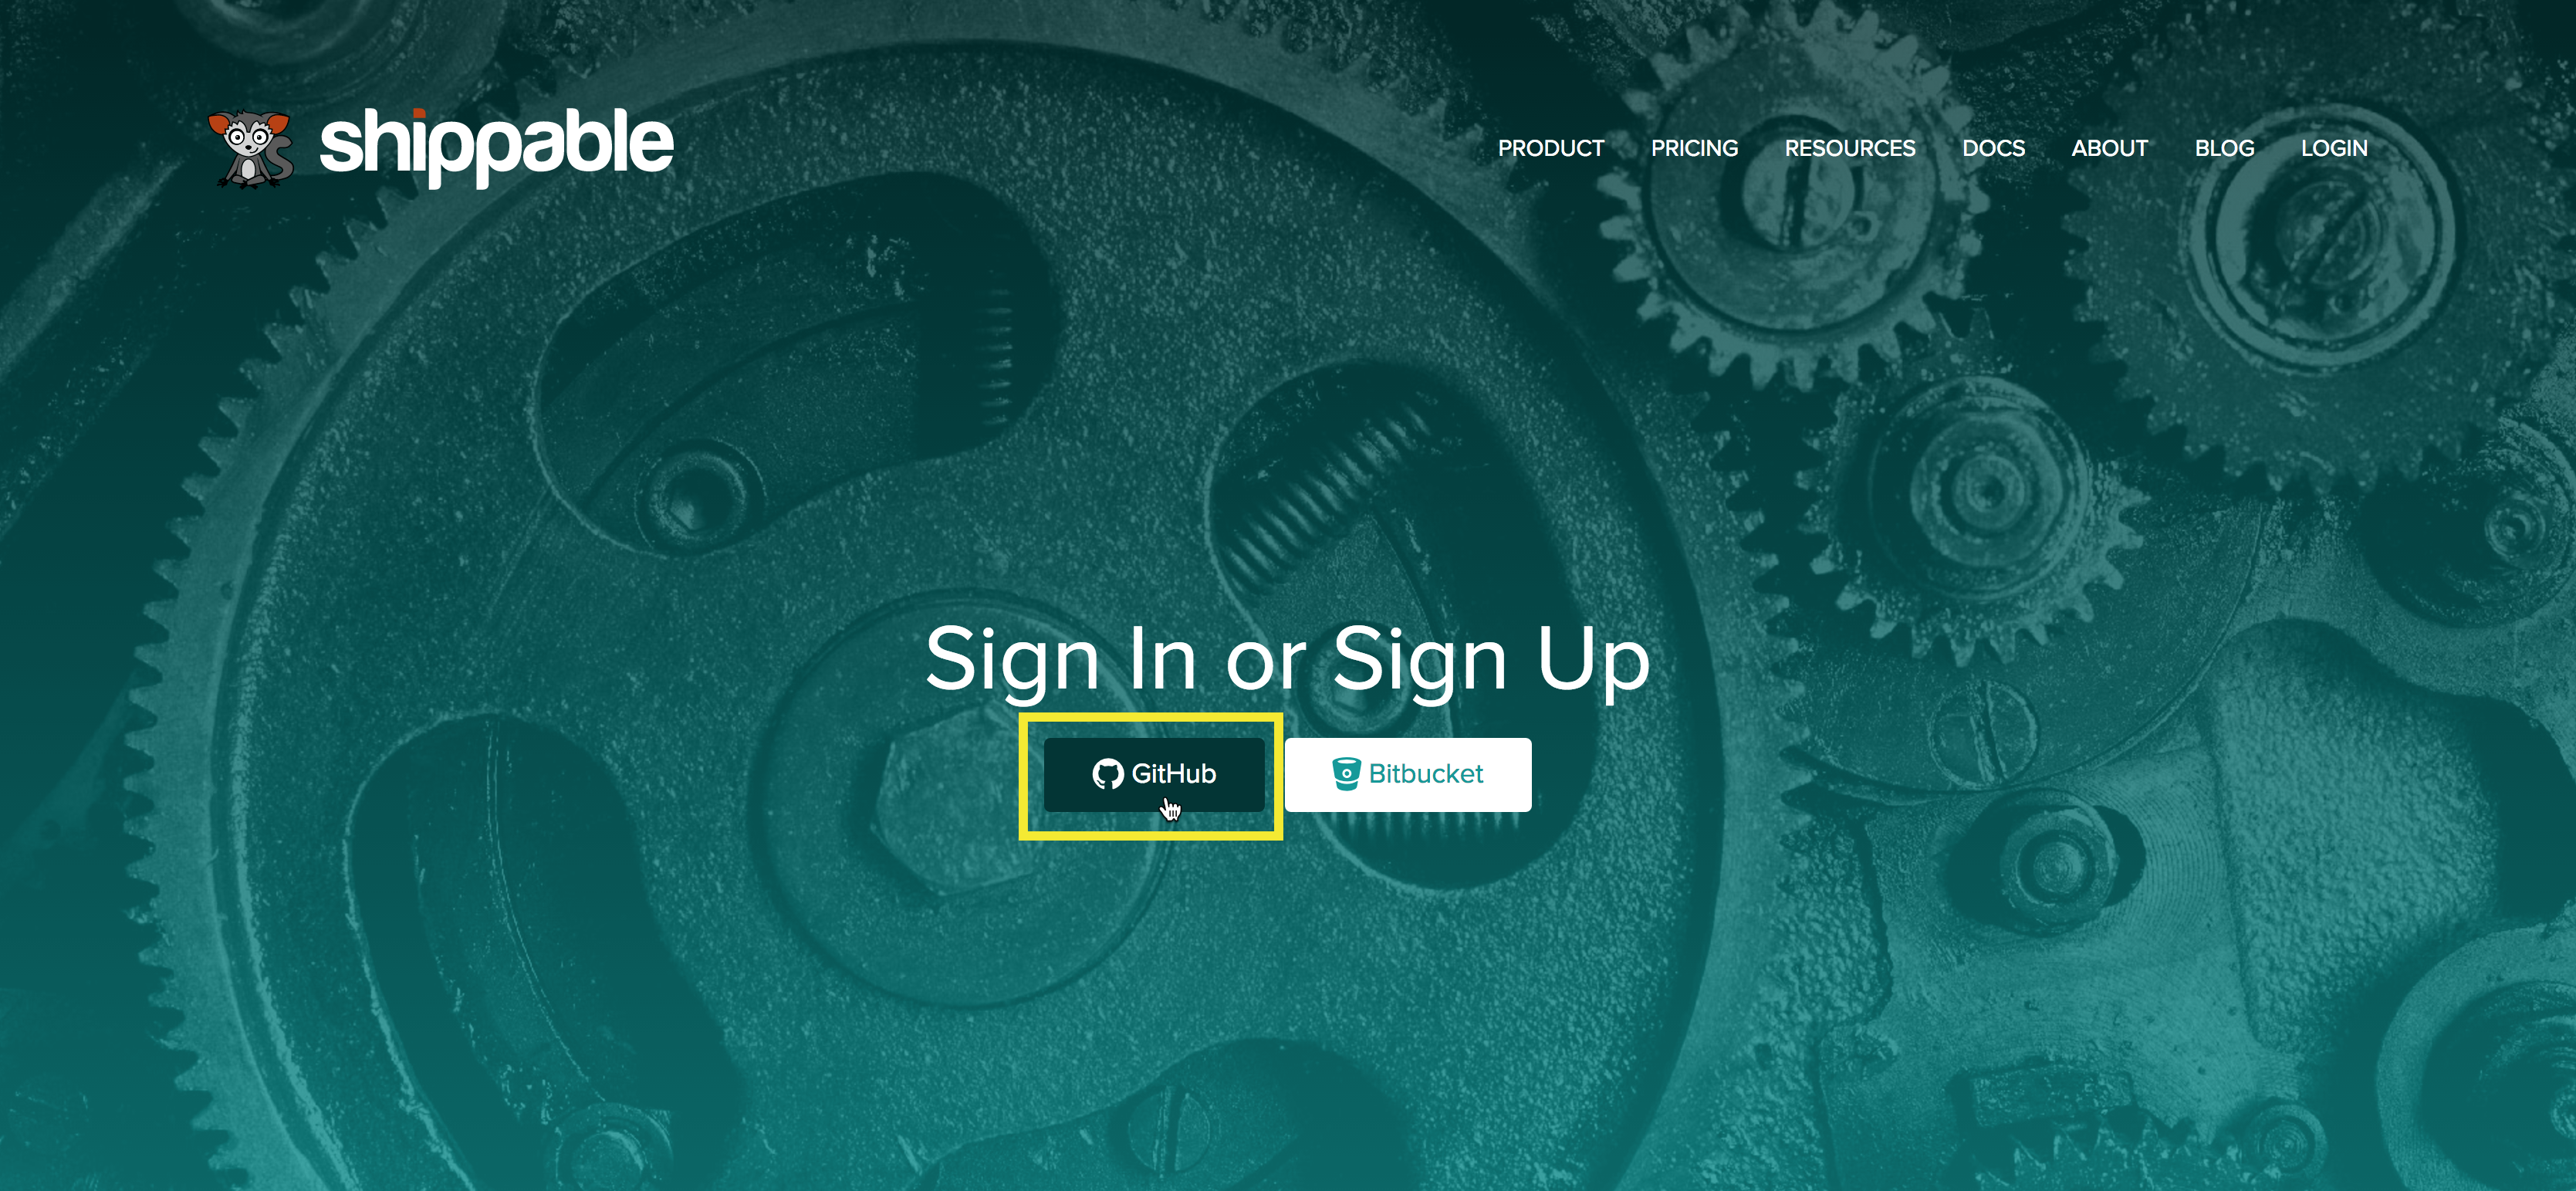
2. Log in with Github
3. Select the team you want to work with

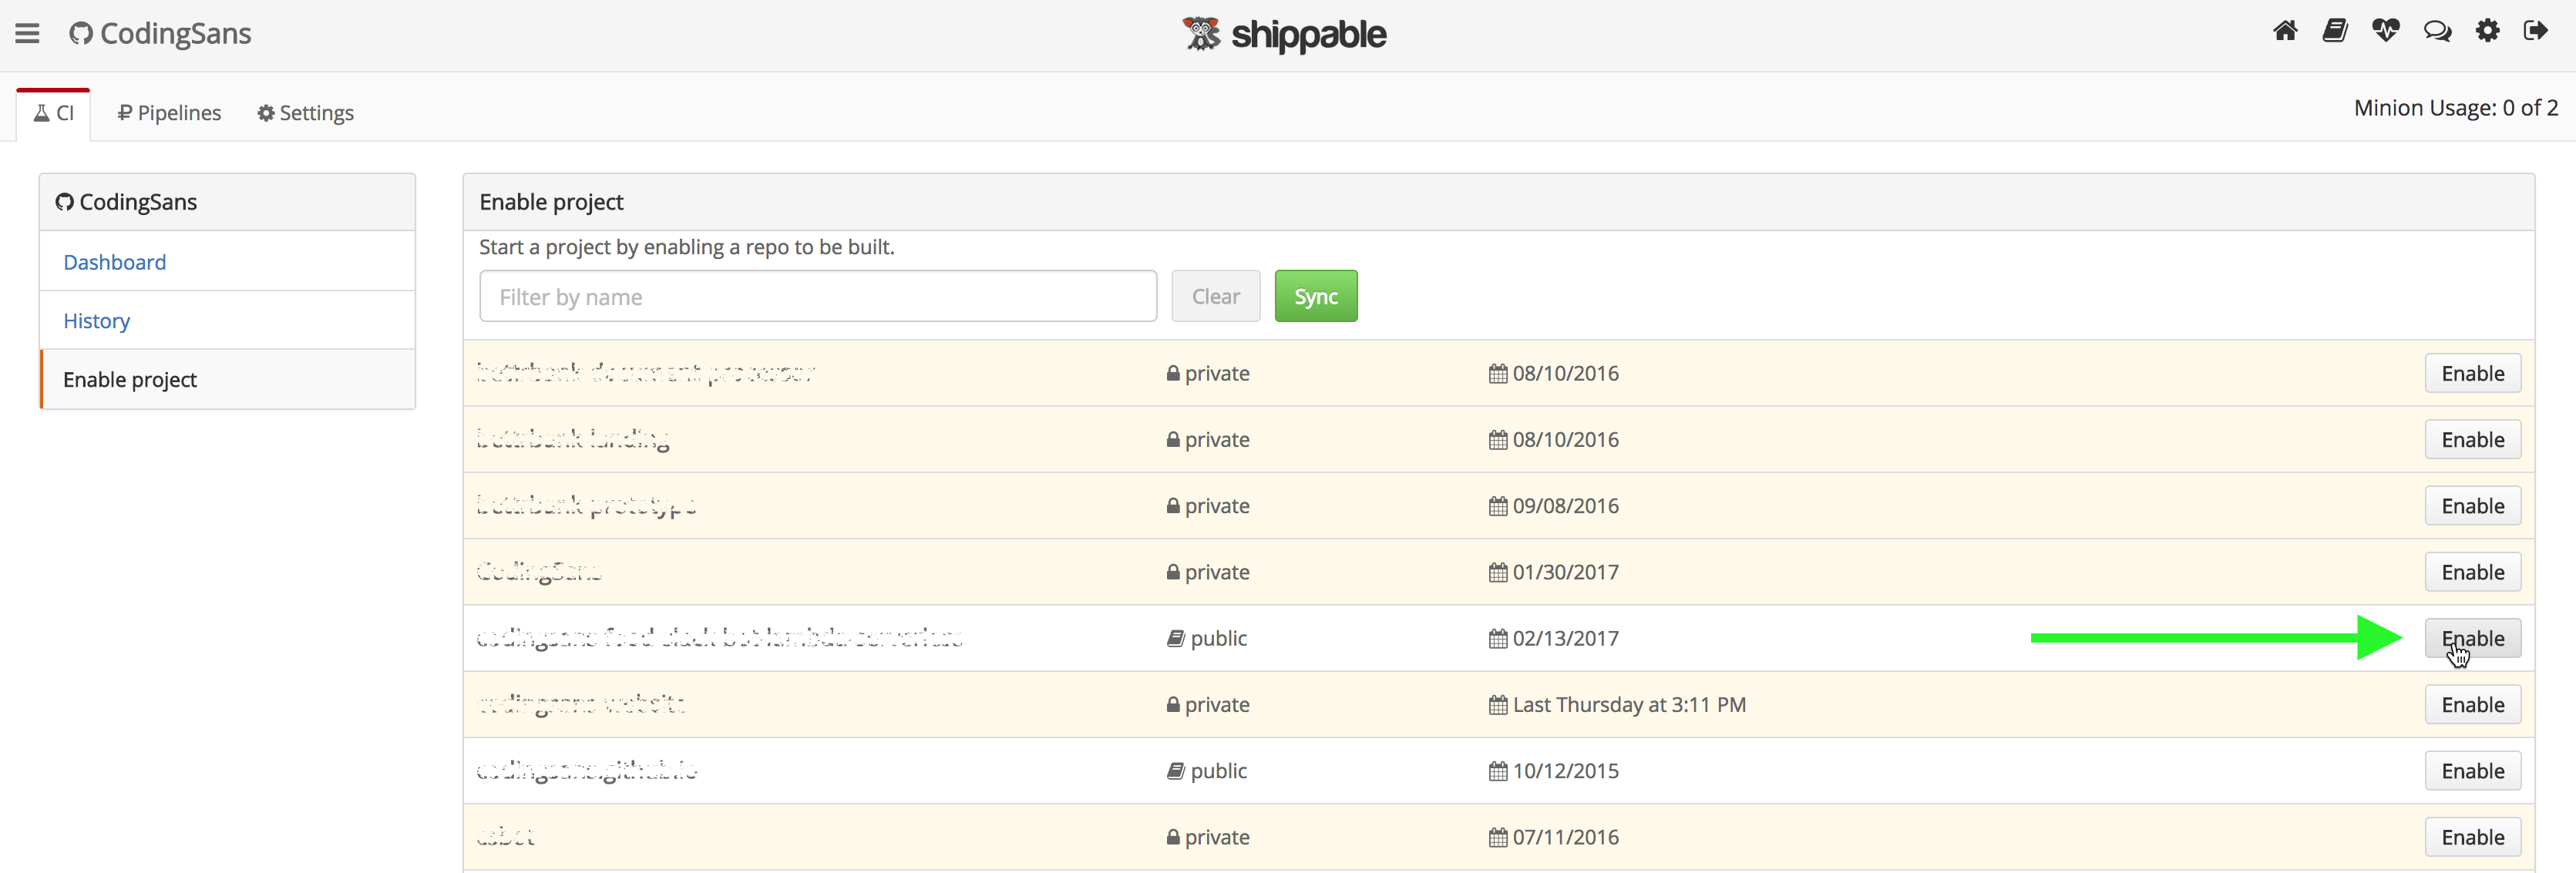
4. Click enable project

5. Select your project from the list
POST PRODUCTION CODE QUALITY
You really shouldn’t let quality tracking go after the product goes live. Tools such as Sentry and Newrelic real-time monitor errors so you don’t have to ask users to report crashes and bugs since you will be notified automatically. All you need to do is add a small piece of code to your app.
Tools:
CASE STUDY
Alan Yeats
CTO
Pocket Sized Hands Limited
"We think trying to avoid technical debt whenever possible is the best way. You can catch many things early though code reviews, by making sure code standards are kept and by avoiding hacks.
Obviously sometimes you can't avoid adding technical debt to a project when deadlines and milestones come up. Then it’s best to make sure to document everything. We keep a document with a list of all the issues, where they are, why it was done like that, and what possible actions could resolve it. This way we keep track of the issue where we see them and when it’s fresh in our mind.
When it comes to improving code quality it works on a case by case basis. Sometimes you have to accept some issues will never be fixed and just keep it in mind when working around it. Other times it can be scheduled into a future sprint to fixed when that feature next needs to be looked at."
CONCLUSION
That’s it. This is how you can create a workflow for your team that makes sure everyone’s code follows the same style guide and goes through predefined tests to check functional quality.
Apart from testing code quality before release, you also need to monitor what happens with your app when users start using it.
We know that writing bug-free code is impossible, but following the process mentioned above will definitely improve the quality of your team’s code.
This post was written by Akos Szokodi, Balint Csak and Tamas Torok
FURTHER READING 📗📘📙:
👉 4+1 Code Review Tools and Linters to Help Your Team Write Better Code
👉 Code Review: Create The Culture, Learn The Best Practices
👉 The Ultimate Guide for Creating Kickass User Stories (With Templates)
